
I’ve been asked a lot recently about the best practices for long exposure imagery, when photographing sunrises and sunsets. I wouldn’t say that what I know would be considered “best”, but here’s a few things that I think will help improve your results and even create more dynamic looking images.

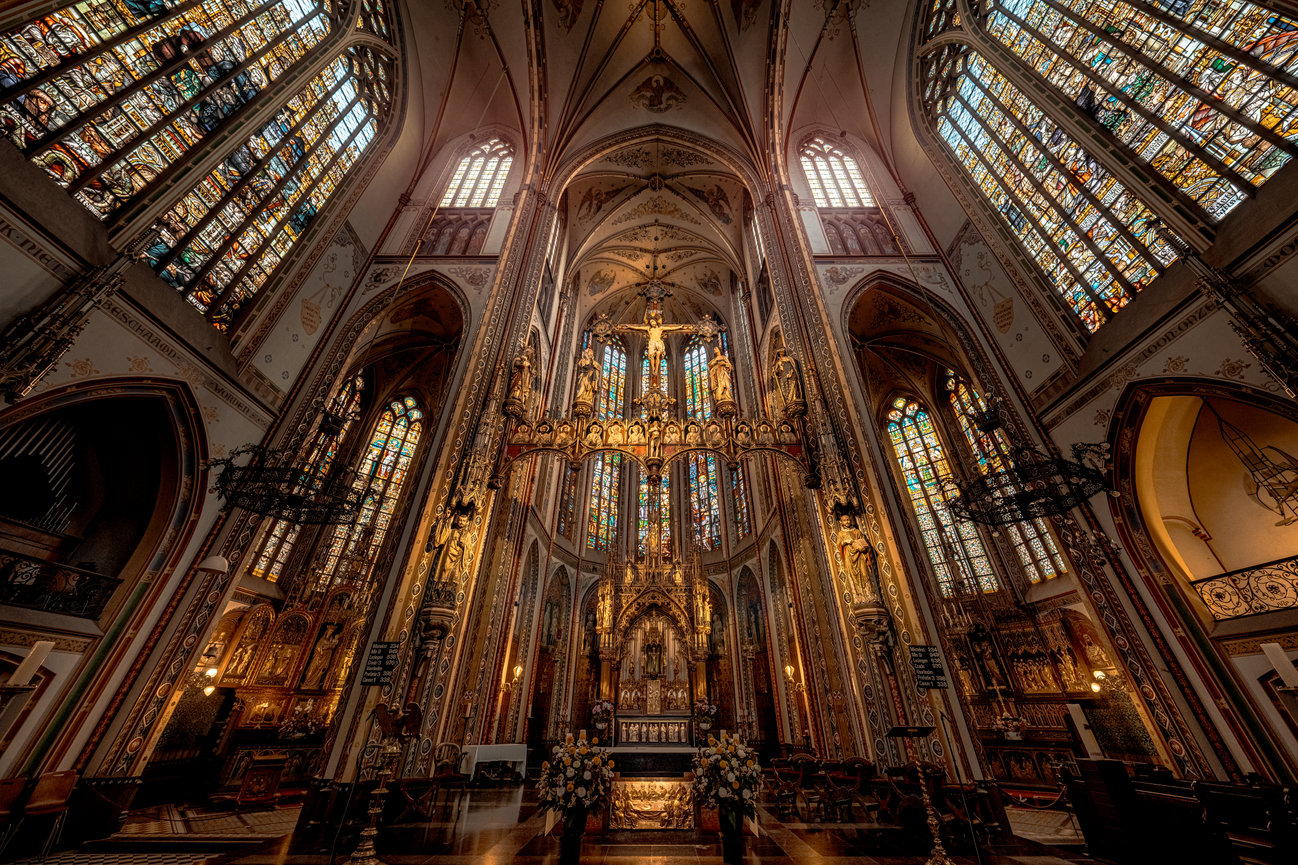
Sony α7R III + ZEISS Loxia 2.8/21mm, SIRUI AM-254, Breakthrough Photography Dark CPL 6-Stop - Cannon Beach, OR.
1. Quality Lenses
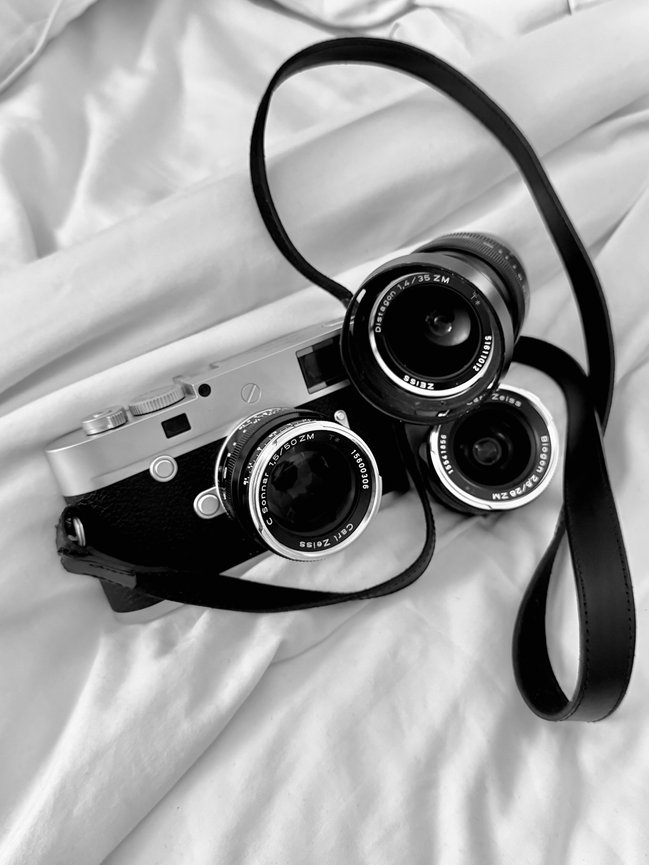
This should be self explanatory, but I can't ever stress how important that is for everything you're doing in photography. It's especially essential when you're capturing landscapes and need lenses that can capture every detail, along with having excellent colors and sharpness.
I've used a variety of Sony and ZEISS lenses over the years and currently use ZEISS Loxia lenses for majority of my landscape imagery. These are manual focusing lenses that are useful for landscapes, in that you have the focusing and aperture markings on the lens. These are fully mechanical and do not utilize Sony's focus-by-wire system. This is important, because you're actually aware of where your focus is when using these lenses. Focus-by-wire lenses do not offer this, as the focusing ring is electronically controlled by the camera and lens, so you're never sure of where your focus is precisely and that's not something you'd want when photographing landscapes. For this genre I always recommend everyone to manually set their focus and do not rely on autofocusing.

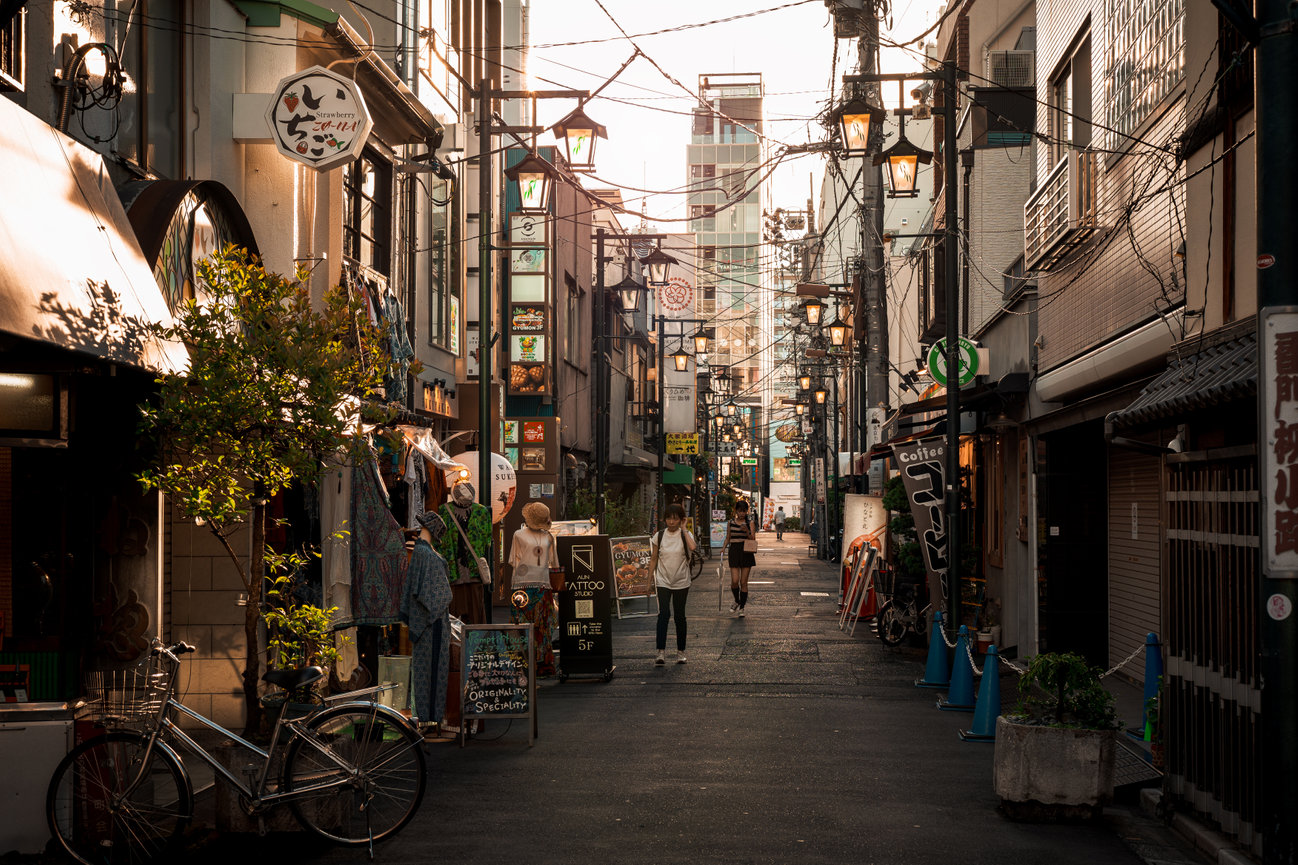
Sony α7R II + ZEISS Loxia 2/35mm, Breakthrough Photography Dark CPL 6-Stop | South Street Seaport, Manhattan, NY.
2. Neutral Density (ND) Filters
These are exceptionally handy for many scenarios, but they’re especially useful for sunrises and sunsets in giving you longer exposure opportunities when the sun is still producing a lot of light and your shutter speed can’t quite get low enough for a really long exposure.
These come in a variety of stops and types, such as your standard circular screw on kind or the square/rectangular kind, where you use a filter brace/holder on your lens.
6 stops is a good starting point for most. They’re a great in between filter option in that it’s not too fast or slow for most situations. Having a 10 stop (or higher if needed) is useful for the times when you want to photograph a bit earlier before sunset and a little later after the sun has risen, so that you’re able to have the flexibility of a long exposure during the sun being at it's brightest.

Sony α9 + ZEISS Batis 2/25mm, SIRUI T-024X, Breakthrough Photography Dark CPL 6-Stop | Chicago, IL.
3. Circular Polarizer (CPL) Filters
Among the variety of filters you can purchase on the market, these seem to have the most questions about what are the uses of these filters for?
These are excellent for managing reflections off of glass and water surfaces and enhancing results with the sky/clouds in your photo.
I use the Dark Circular Polarizing (CPL) filters from Breakthrough Photography. They’re the only company I’ve come across with these and what they are are your typical CPL filter you’d know them to be, but they also combine the varying stops you find in Neutral Density (ND) filters (coming in 1, 3 and 6 stops), effectively giving you a 2 in 1 filter.
This helps a lot as with most wide angle lenses, such as the ZEISS Vario-Tessar T* 4/16-35mm I use the more filters you stack you’ll begin to see vignetting, as the edges of the filters will begin to show at the widest focal length. In not having to stack several filters you avoid this and are able to photograph at the widest focal length of your lens.

Sony α9 + ZEISS Batis 2/25mm, SIRUI AM-254, Breakthrough Photography Dark CPL 6-Stop | KY.
4. Sturdy Tripod
Having a good tripod is a MUST! This doesn’t mean purchasing a $500 tripod, as you can find great quality ones for less than half that price in aluminum or a carbon fiber for a few dollars more, which I especially love for their lighter weight when traveling.
I use a variety of SIRUI Tripods (Click Here for my current tripods I'm using). Their tripods are very lightweight, but sturdy. I've used their brand for over 3 years now and have traveled across the world with them and they're all still going strong.
TIP: Don’t forget when you’re using a tripod to turn off your Image Stabilization. You might not realize it but with your camera on a tripod it’s still trying to correct motion even if there isn’t any, unless you’re on a moving platform or pier and in that case having it enabled can improve your chances for a much sharper image.

Sony α9 + ZEISS Batis 2/25mm, SIRUI AM-254, Breakthrough Photography ND 10-Stop | Atlanta, GA.
5. Intervalometer/Remote
Having a remote trigger whether attached to the camera or using an app is important to have, in setting up for the perfect long exposure of a sunrise or sunset.
I use a little $20 remote I found off of Amazon that attaches to my camera and with my camera in BULB mode I can set my camera for the amount of time I want my exposure to be. The JJC Remote has been my favorite, because it's one of a very small few (if not the only one) that actually has an on/off switch. Who would have known that an on/off switch would be a novel idea for a remote! Most others out there do not have this and you'd have to remove the batteries when it's not in use.
Some may prefer using a wireless remote trigger and they can work too, but the downfall is that they don't have a display for you to see the length of time for your exposure or have the ability to dial in the time you want to set it. There's no in camera view for this either, so you're stuck to using your watch or phone to keep track of time. Not really a convenient method and certainly not one I'd advise.
The maximum many cameras can go in camera is 30 seconds, which works just fine, but if you’re wanting more dramatic looking images you’d want to go longer. Adjust your timing for how extensive you want any kind of motion to be in your image, to obtain your desired look.

Sony α9 + ZEISS Vario-Tessar T* 4/16-35mm, SIRUI AM-254, Breakthrough Photography Dark CPL 6-Stop | Grand Junction, CO.
BONUS: L-Bracket
This isn't a "necessary" thing to have, but it can make life a bit more pleasant for long exposure work (especially for those vertical images).
An L-Bracket is great for keeping the center of gravity to the center of your tripod. If you've ever had to take a vertical composition the normal way, then your camera is hanging off to the side and not centered on your tripod. That shift in weight makes your setup more prone to tilting over. Having the L-Bracket keeps everything centered and far more stable.
The one I use is from SIRUI and it's designed for the 3rd generation Sony Alpha cameras (Click Here to view). You can search online for an L-Bracket for you respective camera. Once you use it once you don't want to go without one!

Sony α7R III + ZEISS Loxia 2.8/21mm, SIRUI AM-254, Breakthrough Photography Dark CPL 6-Stop - Sunriver, OR.
Hopefully these things help you in improving your sunrise and sunset images to create beautiful and dynamic looking images, that bring more feeling and passion to them. I’d love to see your results, so be sure to share them with me on Instagram.

Leave a comment
0 Comments